Wandgeometrie
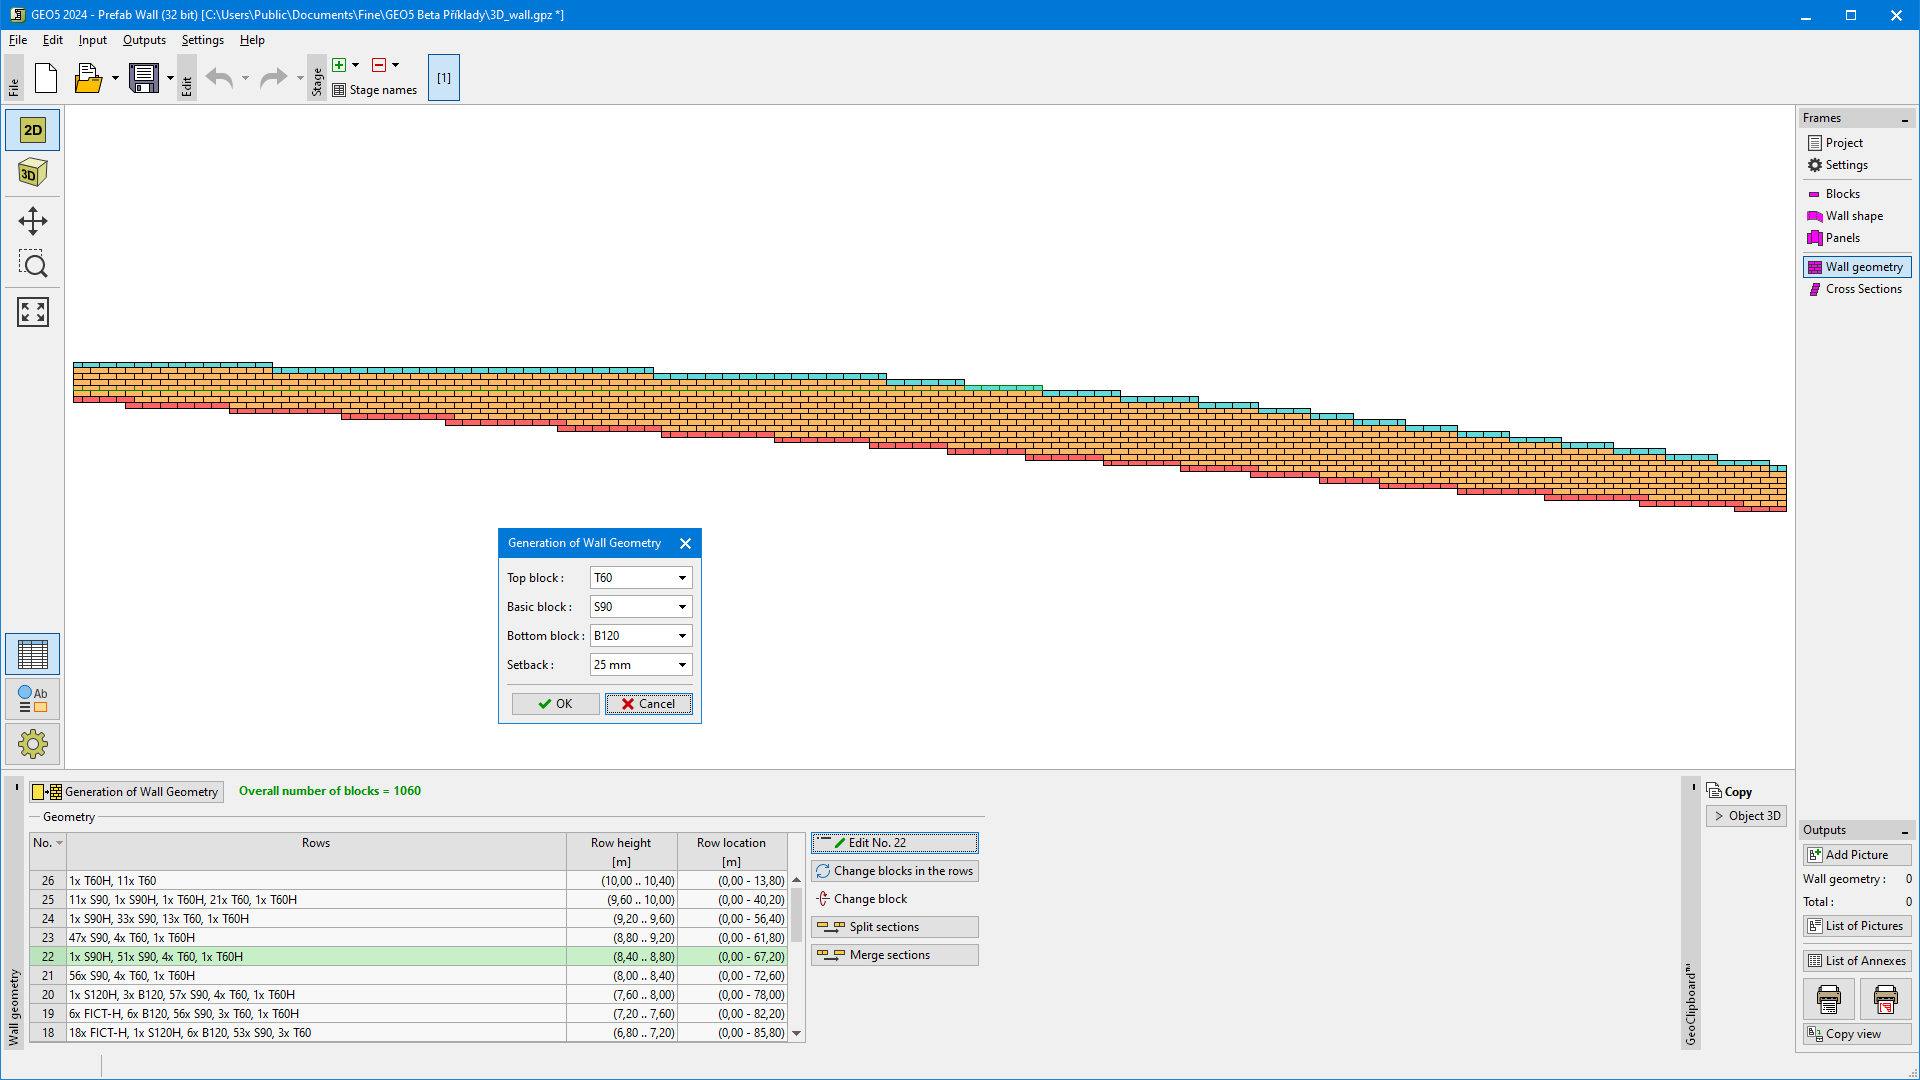
Im „Wandgeometrie“ werden die Blöcke auf der Grundlage der „Platten“ über die Schaltfläche „Erzeugung der Wandgeometrie“ erzeugt. Bei der Installation der Wand werden die oberen, grundlegenden und unteren Blöcke oder die Rücksprünge zwischen ihnen ausgewählt.
Nach der Generierung enthält die Tabelle mit den generierten Blockreihen, die wir weiter bearbeiten können. Die Blöcke werden von links nach rechts in der Zeile aufgelistet. Die Schreibweise „12 x S60 (FICT), 1 x S60 (HALF), 12 x S60“ bedeutet beispielsweise, dass die Zeile aus zwölf fiktiven Blöcken (Abstand 12 * Länge des Standard-S60-Blocks), einem Halbblock und zwölf Standardblöcken besteht. Die fiktiven Blöcke und Halbblöcke werden entweder automatisch aus vorhandenen Blöcken erstellt, oder es werden die Blockmöglichkeiten des Katalogs verwendet. Jeder Benutzerblock kann als Vollblock, Halbblock, fiktiver Block oder halber fiktiver Block angegeben werden.
Um einen Block zu ändern, ist es sinnvoll, die Funktion „Block ändern“ zu verwenden - nachdem Sie diese Schaltfläche im 2D-Modus gedrückt und auf den zu ändernden Block geklickt haben, öffnet das Programm das Dialogfenster zum Ändern des Blocks. Um den Modus zu verlassen, drücken Sie die rechte Maustaste.
Sehr wichtig im Programm ist der Modus der Konstruktionsansicht (2D/3D), der in der linken Steuerleiste umgeschaltet wird.
Das 2D-Bild stellt die „unverhüllte“ 3D-Form dar. Es erlaubt Ihnen, verschiedene Annotationen einzugeben (z.B. Beschreibung der Struktur, Abmessungen, Beschreibung der Blöcke) - aber es ist wesentlich schwieriger, sich die Wand vorzustellen.
 „Wandgeometrie“ Overview - 2D-Modus
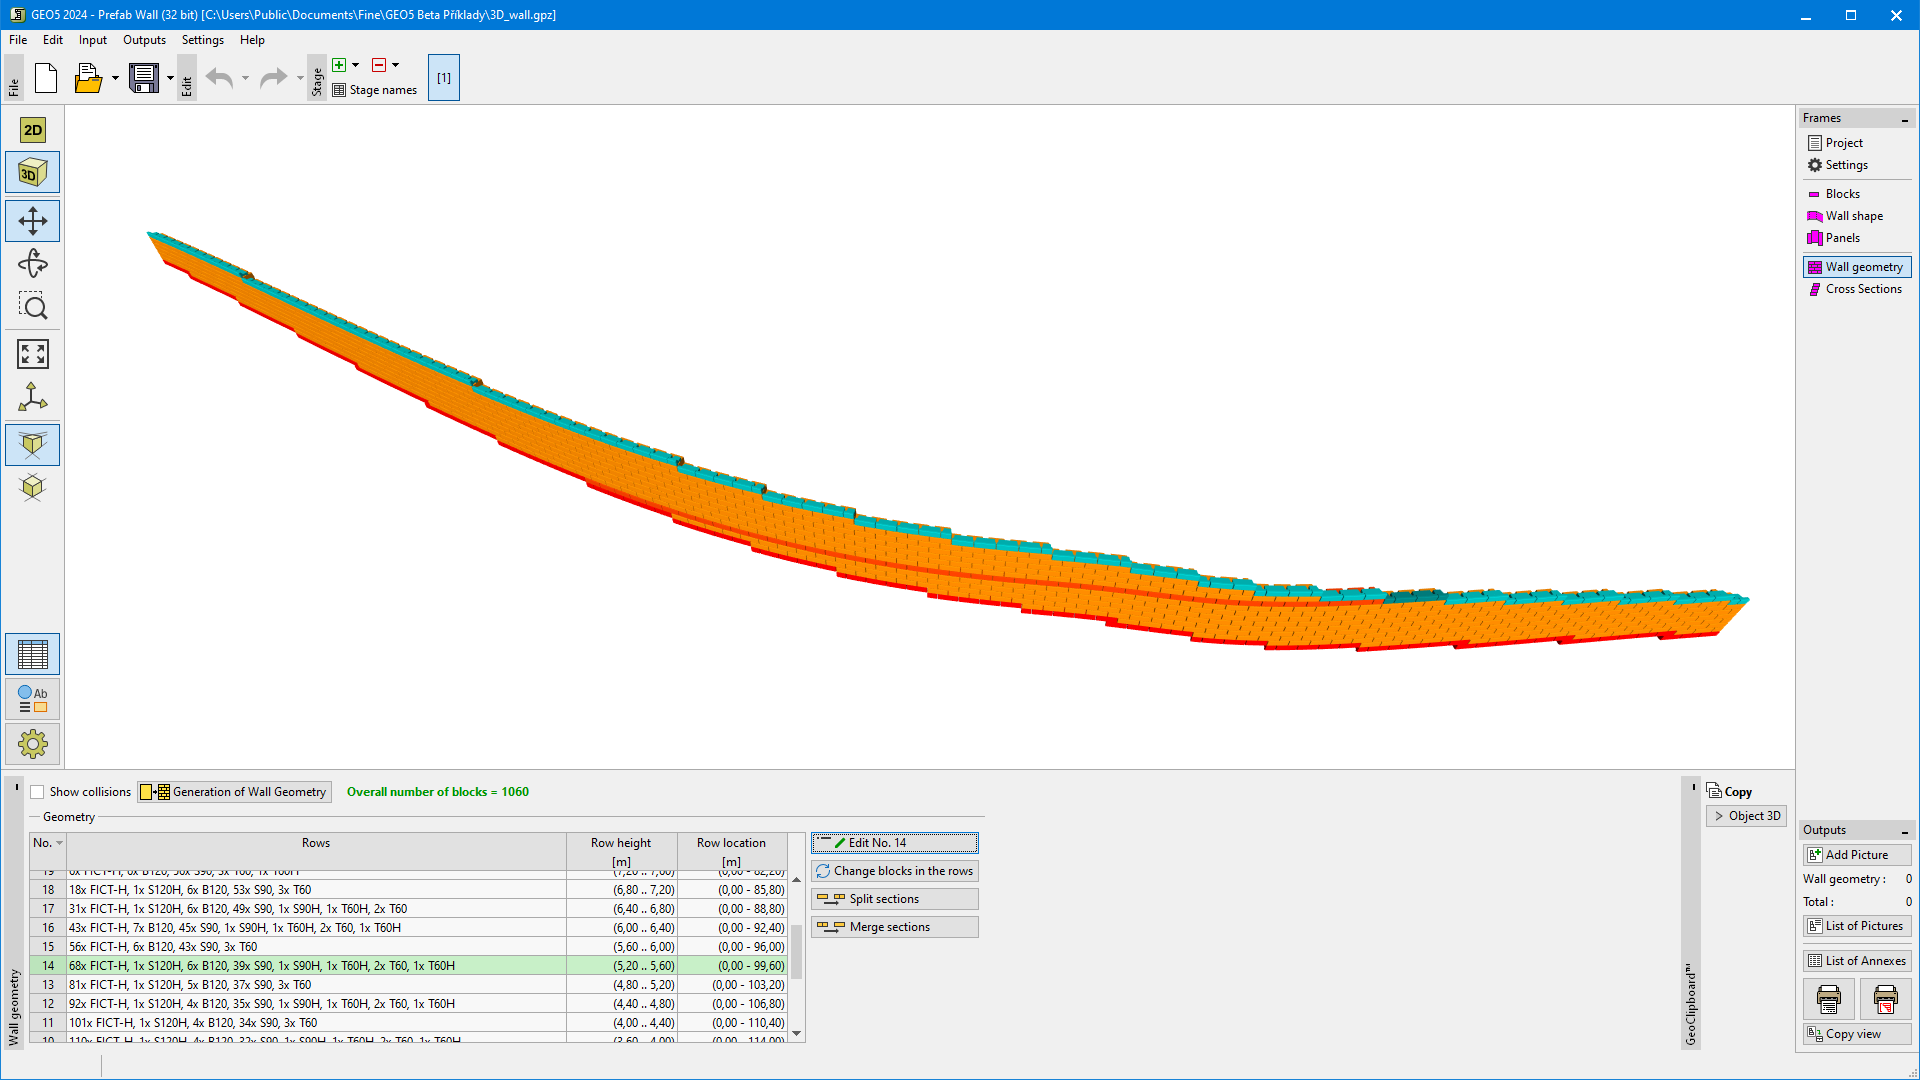
Das 3D-Bild ist sehr klar, aber Sie können keine Beschreibungen erstellen oder einzelne Blöcke ersetzen.
 3D Modus